
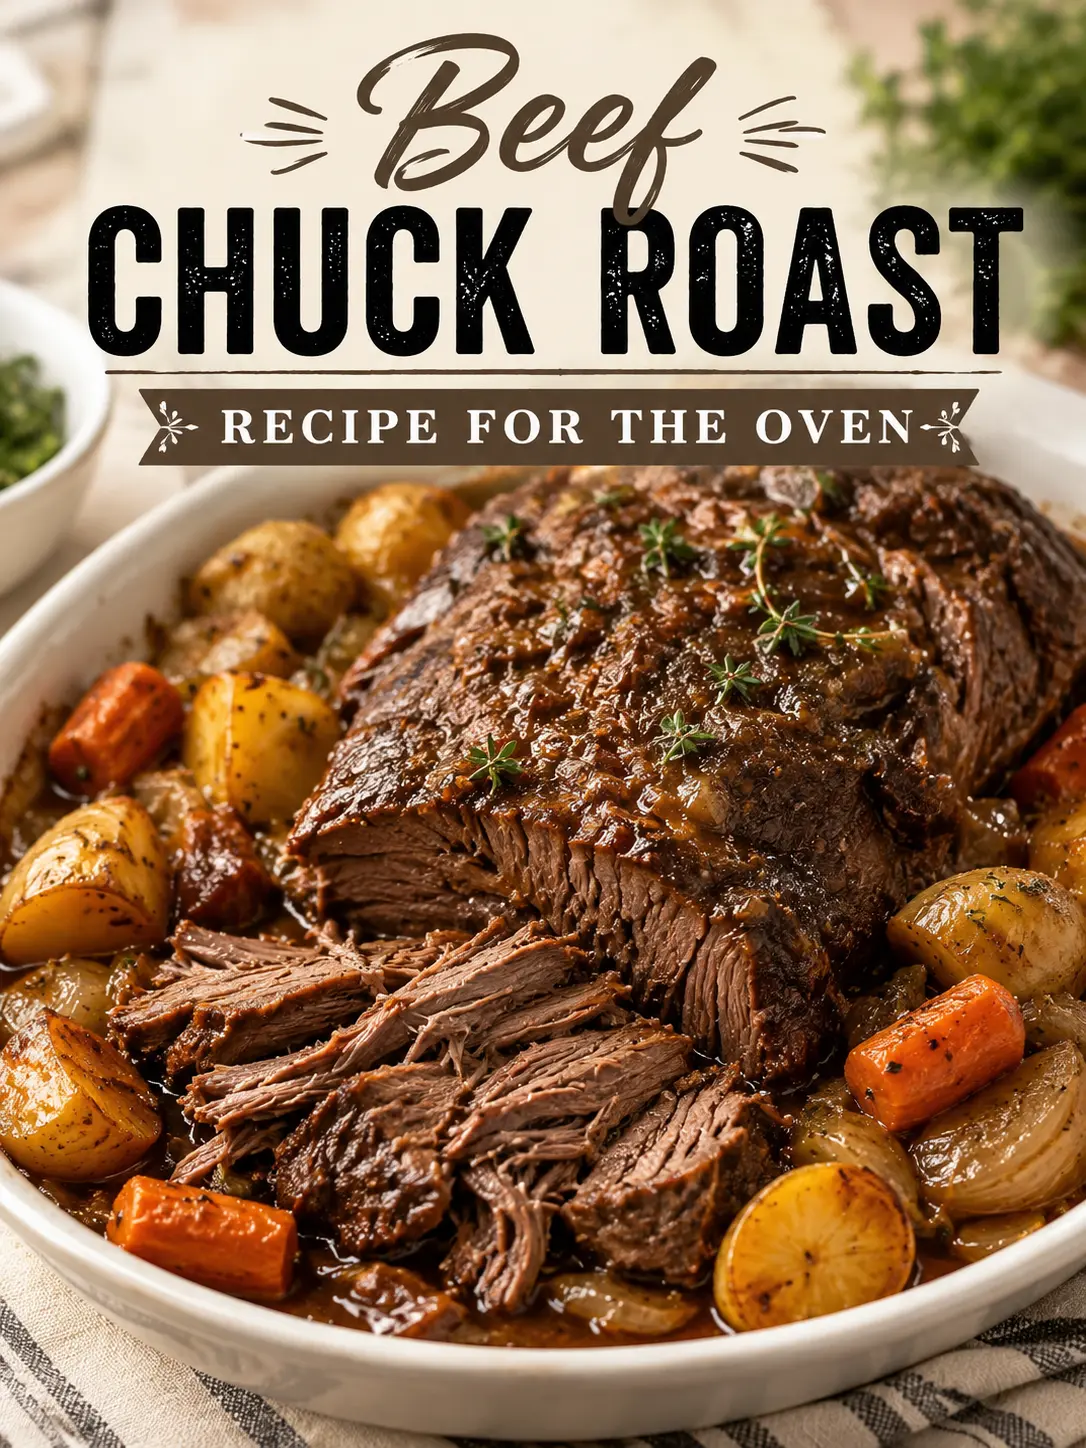
Beef Chuck Roast Recipe for Oven (Easy & Tender)
A beef chuck roast recipe for the oven turns one of the toughest, most affordable cuts of beef into a tender, fall-apart dinner with almost no hands-on effort. Chuck roast comes from the shoulder area of the cow, a muscle that works hard throughout the animal’s life. That means it’s packed with connective tissue and marbling, which is exactly what makes it tough when cooked quickly, but incredibly tender when cooked low and slow.
This recipe covers the full method from start to finish: seasoning, searing, braising, and cooking potatoes and carrots right in the same pan. It also includes a time and temperature chart by roast weight, since most recipes only give one number and leave readers guessing when their roast doesn’t match the example. Troubleshooting guidance is included for the most common problems, like a roast that’s still tough after the recommended cook time.
Why This Method Works
Chuck roast contains a significant amount of collagen, a connective protein that’s naturally tough at low temperatures. When chuck roast is cooked slowly in liquid, that collagen gradually breaks down into gelatin, which is what gives a properly cooked roast its soft, almost spoonable texture.
This transformation doesn’t happen at the same temperature that makes a steak “done.” A ribeye or strip steak is best pulled at 130 to 140°F for medium-rare. Chuck roast needs to go much further, into the 195 to 205°F range internally, before the collagen has had enough time and heat to convert.
That’s the main reason chuck roast can seem tough even after a long cook time: if it hasn’t reached that internal temperature range, the connective tissue simply hasn’t broken down yet, regardless of how long it’s technically been in the oven.
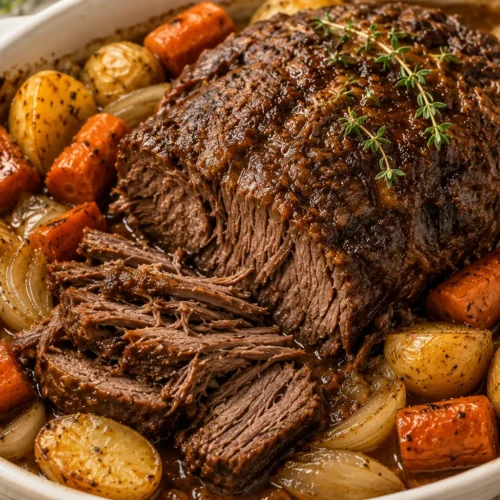
Beef Chuck Roast Recipe for the Oven
Ingredients
Roast
- 3-4 lbs chuck roast bone-in or boneless
- 1-2 tbsp oil avocado or canola
- 1.5 tsp kosher salt per pound of meat
- 1 tsp black pepper
Braising Liquid
- 1 yellow onion large, sliced
- 4 cloves garlic smashed
- 2 cups beef broth
- 2-3 sprigs fresh thyme or rosemary
Vegetables
- 1.5 lbs baby potatoes halved or quartered
- 4-5 carrots medium, cut into large chunks
Gravy (optional)
- 1 tbsp cornstarch
- 2 tbsp cold water
Instructions
- Pat the chuck roast dry with paper towels and season all sides generously with salt and pepper. Let it sit at room temperature for 30-45 minutes.
- Preheat the oven to 325°F. Heat oil in a Dutch oven over medium-high heat and sear the roast on all sides until deeply browned, 3-4 minutes per side. Remove and set aside.
- Add the sliced onion to the pot and cook for 3-4 minutes until softened. Add the garlic and cook for 30 seconds.
- Pour in the beef broth and scrape the bottom of the pot to release the browned bits.
- Return the roast to the pot along with the herb sprigs. Cover tightly with a lid or two layers of sealed foil.
- Braise in the oven for 3-4 hours, adding the potatoes and carrots either at the start or with 60-90 minutes of cook time remaining.
- Check for doneness with a thermometer (195-205°F internally) or the fork test. Return to the oven in 20-30 minute increments if needed.
- Remove the roast and vegetables and set aside, covered. For gravy, whisk the cornstarch and cold water into the strained pan liquid and simmer for 2-3 minutes until thickened.
- Serve the roast with the vegetables and gravy.
Notes
- Times vary by roast weight; see the time and temperature chart in the article for guidance by pound.
- A tough roast after cooking almost always means it needs more time, not less.
Ingredient Notes and Substitutions
Low-sodium beef broth allows for more control over the final saltiness of the dish, since the liquid reduces and concentrates during the long cook time. Regular broth works fine too, but salt should be adjusted accordingly.
Parsnips, celery, or turnips can be swapped in for some or all of the carrots without changing the method. Sweet potatoes can also replace regular potatoes, though they’ll cook slightly faster and should be added later if a firmer texture is preferred.
Fresh herbs give a cleaner flavor, but dried herbs work as a substitute at roughly one-third the amount, since dried herbs are more concentrated.
Bone-In vs. Boneless Chuck Roast
Both bone-in and boneless chuck roast work well for this recipe, but there are a few practical differences worth knowing before choosing one.
| Bone-In | Boneless | |
|---|---|---|
| Cook Time | Slightly longer | Slightly shorter |
| Flavor | Bone adds richness to the braising liquid | Milder, more neutral |
| Ease of Serving | Bone needs to be removed after cooking | Ready to shred or slice immediately |
| Moisture | Bone can help retain moisture | Slightly more prone to drying if overcooked |
Neither option produces a meaningfully better result. The choice mostly comes down to convenience: boneless roast is easier to portion and serve, while bone-in roast can add a bit more depth to the pan juices.
Should You Sear the Chuck Roast First?
Searing and skipping the sear are both valid approaches, and the choice affects the final result in specific, predictable ways.
Searing the roast in a hot pan before braising triggers the Maillard reaction, the chemical process that creates a browned, flavorful crust on the meat’s surface. That crust also leaves browned bits (fond) in the pan, which dissolve into the braising liquid and add depth to the finished gravy.
Skipping the sear saves time and avoids an extra pan to clean. Some recipes make up for the lack of a sear with a broiling step at the end, which browns the surface after the meat is already cooked rather than before.
This recipe uses the sear-first method, since it builds flavor into both the meat and the braising liquid at the same time. The searing step described below is recommended, but a reader short on time can skip it and proceed straight to the braising stage with reasonable results.
How to Cook Beef Chuck Roast in the Oven
Step 1: Season the Roast
Pat the chuck roast dry with paper towels. Removing surface moisture helps the meat sear properly instead of steaming in the pan.
Season all sides generously with kosher salt and black pepper, using about 1.5 teaspoons of salt per pound of meat. Let the roast sit at room temperature for 30 to 45 minutes before cooking, which helps it cook more evenly.
Step 2: Sear the Roast
Preheat the oven to 325°F. Heat oil in a Dutch oven or other heavy, oven-safe pot over medium-high heat until it shimmers.
Sear the roast for 3 to 4 minutes per side, including the edges, until a deep brown crust forms on all surfaces. Remove the roast and set it aside on a plate.
Step 3: Build the Braising Liquid
Add the sliced onion to the same pot and cook for 3 to 4 minutes, stirring occasionally, until softened. Add the garlic and cook for another 30 seconds, just until fragrant.
Pour in the beef broth and scrape the bottom of the pot with a wooden spoon to release the browned bits left from searing. This step, often called deglazing, pulls the concentrated flavor from the fond into the liquid.
Step 4: Assemble with Vegetables
Return the roast to the pot, nestling it into the onions and liquid. Add the herb sprigs.
Potatoes and carrots can go into the pot now if a fully hands-off approach is preferred, or later, depending on the total cook time. See the vegetable timing section below for guidance on avoiding overcooked or undercooked vegetables.
Step 5: Cover and Braise
Cover the pot tightly with a lid. If a lid isn’t available, a layer of parchment paper followed by two layers of aluminum foil, sealed tightly around the edges, works as a substitute.
Place the pot in the oven and cook according to the time and temperature chart below. Avoid opening the oven or lifting the lid during cooking, since this releases heat and moisture and can extend the total cook time.
Step 6: Check for Doneness
Insert an instant-read thermometer into the thickest part of the roast. It should read between 195 and 205°F when fully done.
If a thermometer isn’t available, test with two forks: the meat should pull apart with minimal resistance. If it still feels tough or fibrous, it needs more time, regardless of how long it’s already been cooking.
Chuck Roast Oven Time and Temperature Table
All times below are for braising at 325°F, covered.
| Roast Weight | Boneless Cook Time | Bone-In Cook Time |
|---|---|---|
| 2 pounds | 2.5 to 3 hours | 3 to 3.5 hours |
| 3 pounds | 3 to 3.5 hours | 3.5 to 4 hours |
| 4 pounds | 3.5 to 4 hours | 4 to 4.5 hours |
| 5 pounds | 4 to 4.5 hours | 4.5 to 5 hours |
These ranges are starting points, not guarantees. Two roasts of the same weight can finish at different times depending on their exact shape, fat content, and how accurately an individual oven holds its set temperature. The internal temperature and fork test are more reliable indicators of doneness than the clock.
Cooking Vegetables in the Same Pan
Potatoes and carrots can overcook into mush or undercook into a hard, starchy bite if added at the wrong point in the process. Timing depends on how they’re cut and when they go into the pot.
For a fully hands-off method, add large, thick-cut chunks of potato and carrot (at least 1.5 to 2 inches) at the same time as the roast. Larger pieces hold their shape better over a long cook time.
For more control over texture, add potatoes and carrots when the roast has 60 to 90 minutes of cook time remaining. This shorter window works well with smaller or thinner-cut pieces and produces a slightly firmer vegetable texture.
Cutting vegetables into uniform sizes helps them cook at the same rate. Uneven pieces are one of the most common reasons some vegetables turn out mushy while others remain undercooked in the same pan.
How to Tell When Chuck Roast Is Done
Two indicators together give the most reliable read on doneness: internal temperature and texture.
Internal temperature should fall between 195 and 205°F. Below this range, the collagen hasn’t fully broken down, even if the roast has technically reached a “safe” temperature for beef.
Texture should be soft enough to shred easily with two forks, with minimal resistance. A properly cooked chuck roast pulls apart in strands rather than requiring a knife to cut through it.
Troubleshooting: Common Chuck Roast Problems
Roast Is Tough After Cooking
A tough roast almost always means it’s undercooked, not overcooked. Chuck roast is difficult to actually overcook in a covered braise, since the liquid and steam prevent it from drying out the way a dry-roasted cut would.
Return the roast to the oven, covered, and check again every 20 to 30 minutes until it reaches 195 to 205°F internally and shreds easily.
Vegetables Are Mushy or Undercooked
Mushy vegetables usually mean they were added too early or cut too small for the total braising time. Undercooked vegetables usually mean the opposite: they were added too late or cut too large.
Adjusting the timing based on the guidance in the vegetable section above, and keeping pieces a consistent size, resolves both issues in most cases.
Braising Liquid Evaporated or Roast Dried Out
This typically points to an incomplete seal on the pot or pan. Even small gaps allow steam to escape steadily over a multi-hour cook, which reduces the liquid faster than expected and can leave the roast exposed to dry heat.
Checking that the lid fits tightly, or that foil is sealed firmly around all edges, prevents this in future attempts. If the liquid has reduced significantly partway through cooking, an additional half cup of broth can be added before returning the pot to the oven.
How to Make Gravy from the Pan Drippings
Once the roast is done, remove it and the vegetables from the pot and set them aside, covered, to stay warm. Strain the remaining liquid if it contains loose herb stems or bay leaves.
Place the strained liquid in a saucepan over medium heat. In a small bowl, whisk 1 tablespoon of cornstarch with 2 tablespoons of cold water until smooth, then whisk this slurry into the simmering liquid.
Continue simmering for 2 to 3 minutes, whisking occasionally, until the gravy thickens. Taste and adjust salt and pepper as needed before serving.
Storage, Reheating, and Freezing
Refrigerator Storage
Store leftover chuck roast and vegetables in an airtight container in the refrigerator for up to 4 days. Keeping the meat submerged in some of its braising liquid helps it stay moist during storage.
Reheating Instructions
To reheat in the oven, place the roast in a covered dish with a few tablespoons of reserved liquid and warm at 325°F until heated through, about 20 to 25 minutes depending on portion size. To reheat on the stovetop, warm gently over low heat in a covered pan with a splash of broth, stirring occasionally.
Freezing Instructions
Chuck roast freezes well when stored in its braising liquid, which helps protect the meat from freezer burn and preserves texture during thawing. Freeze in an airtight, freezer-safe container for up to 3 months.
Thaw in the refrigerator overnight before reheating using either method above.
What to Serve with Beef Chuck Roast
Since this recipe already includes potatoes and carrots, it functions as a complete one-pan meal on its own. A few optional additions round out the plate:
- Crusty bread, for soaking up the gravy
- A simple green salad or steamed green beans, for a lighter contrast
- Buttered egg noodles or rice, as an alternative base to the potatoes
Frequently Asked Questions
What temperature and how long do you cook a chuck roast in the oven?
Chuck roast is typically braised at 325°F, covered, for 2.5 to 5 hours depending on the roast’s weight and whether it’s bone-in or boneless. See the time and temperature chart above for specific guidance by weight.
Do you cover a chuck roast in the oven?
Yes. Covering the pot tightly traps steam and moisture, which is necessary for the collagen in the meat to break down properly. An uncovered roast is more likely to dry out before it becomes tender.
Should you sear a chuck roast before roasting it?
Searing isn’t required, but it adds flavor through the Maillard reaction and contributes browned bits to the braising liquid. A roast can still turn out tender without searing, but the flavor will be milder.
What internal temperature makes chuck roast fall-apart tender?
Chuck roast reaches fall-apart tenderness between 195 and 205°F internally. This is significantly higher than the temperature used for tender cuts like steak, because chuck roast needs additional time and heat for its connective tissue to convert to gelatin.
Can you cook chuck roast in the oven without a Dutch oven?
Yes. A baking dish covered tightly with a layer of parchment paper and two layers of aluminum foil can create a similar sealed environment to a Dutch oven.
Does bone-in vs. boneless change the cook time?
Bone-in chuck roast generally takes slightly longer to cook than a boneless roast of the same weight, typically by 30 minutes to an hour depending on size.
Can you add potatoes and carrots directly to the pan?
Yes. Vegetables can be added at the start of cooking for a fully hands-off method, or partway through for more control over their final texture. See the vegetable timing section above for details.
Why is my chuck roast still tough after cooking?
A tough chuck roast almost always means it hasn’t reached the internal temperature range (195 to 205°F) needed for its connective tissue to fully break down. Returning it to the oven for additional time, checked in 20 to 30 minute increments, typically resolves this.
Also check out:
One Comment